")
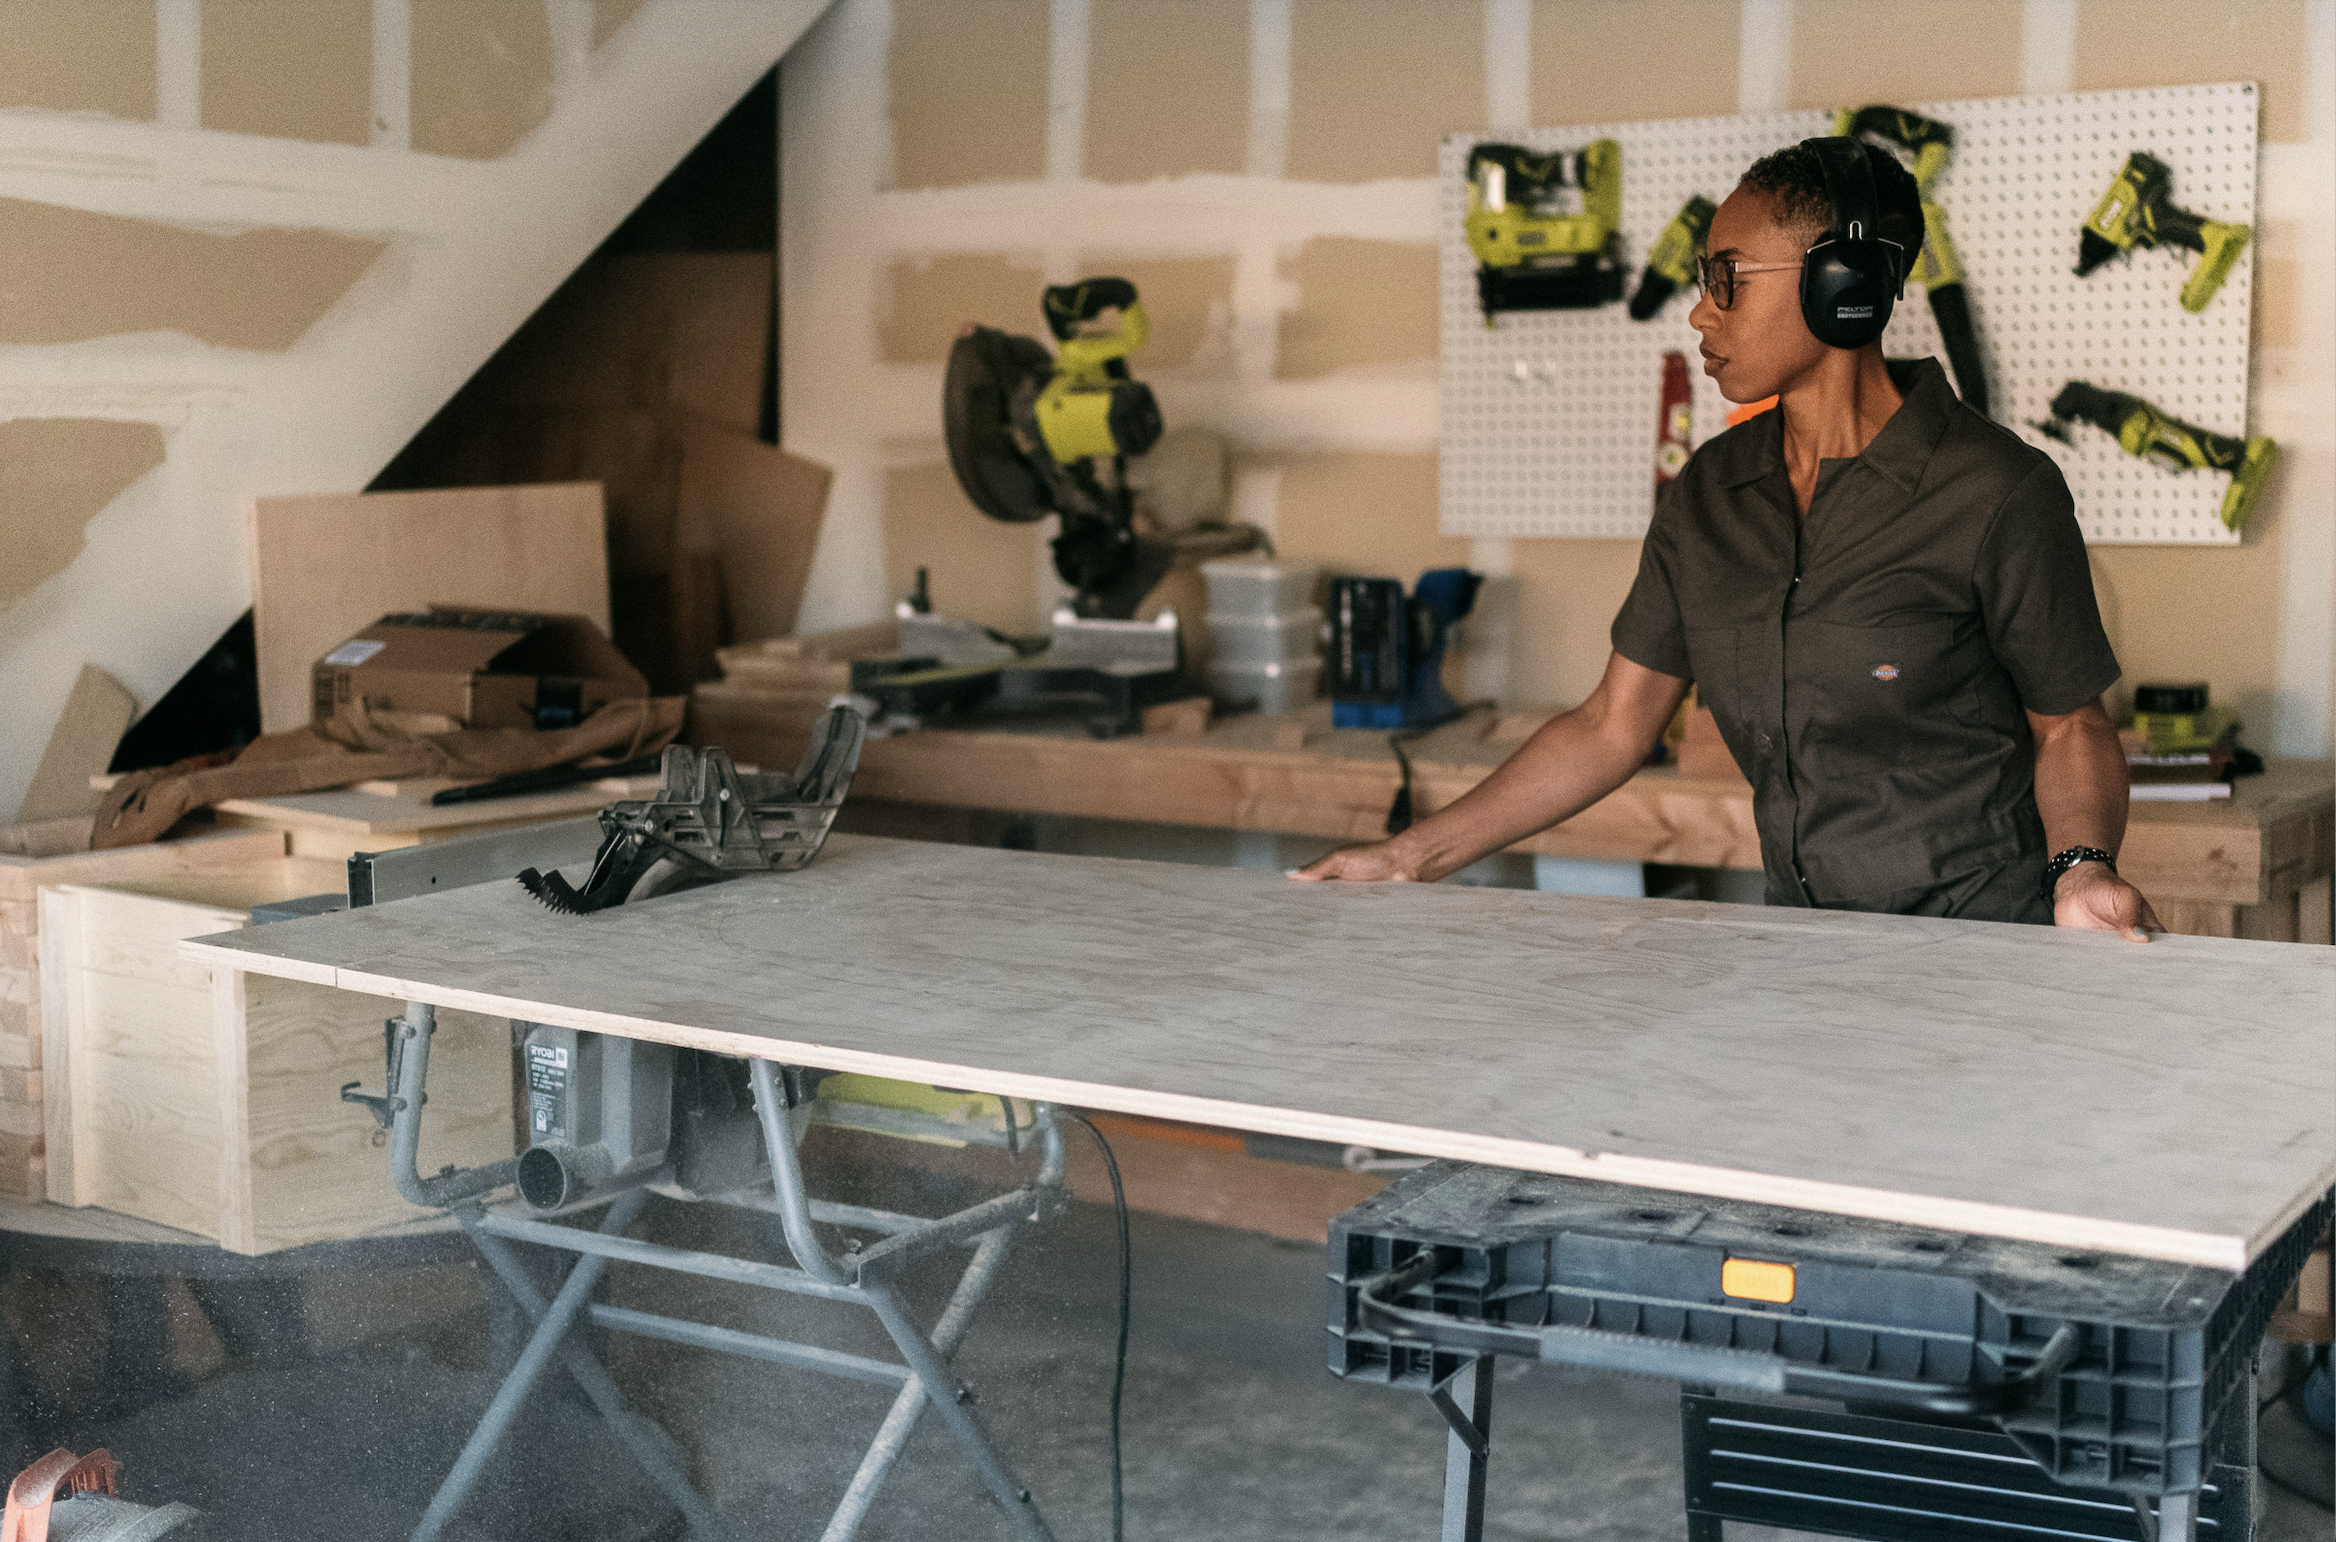


Embarking on a woodworking journey to DIY your bookshelf can be an immensely rewarding experience for beginners. Not only does it allow you to create a functional piece of furniture, but it also provides an opportunity to hone your woodworking skills.
In this guide, I will walk you through the process of building a sturdy bookshelf, highlighting essential tools and techniques.
Materials:
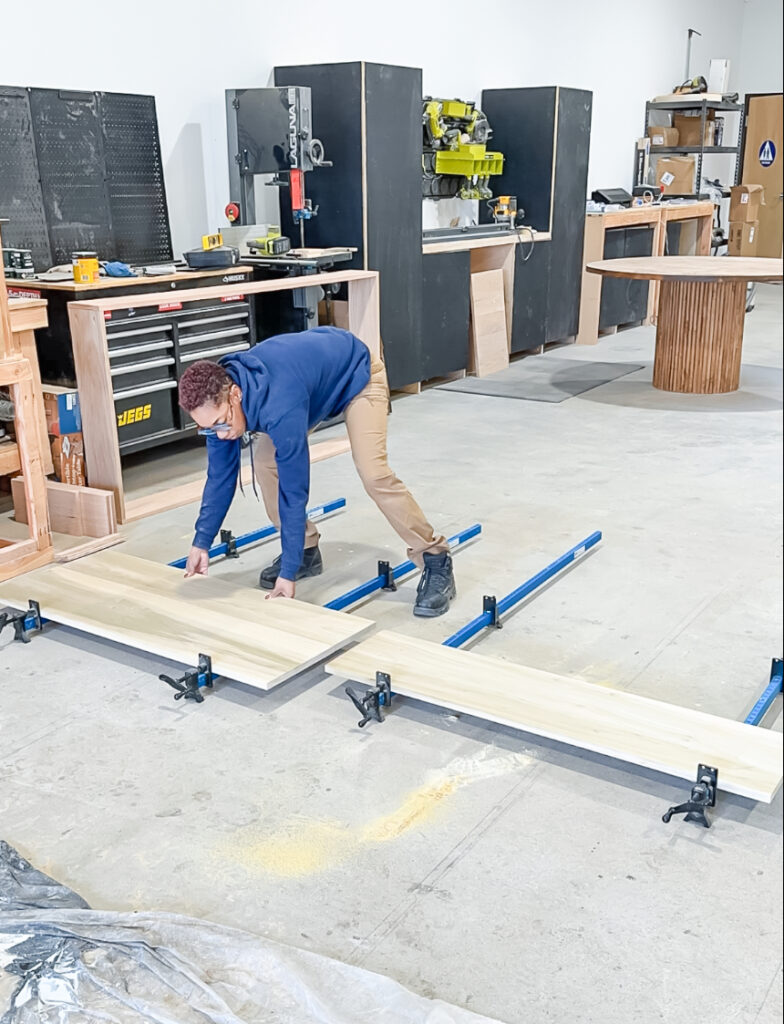
Before diving into the construction process, gather the necessary materials. You’ll need sheets of plywood or in this case, I used poplar wood, wooden boards for the shelves, screws, wood glue, and finishing materials like paint or varnish.
It’s crucial to choose high-quality materials to ensure the longevity of your bookshelf.
Tools:
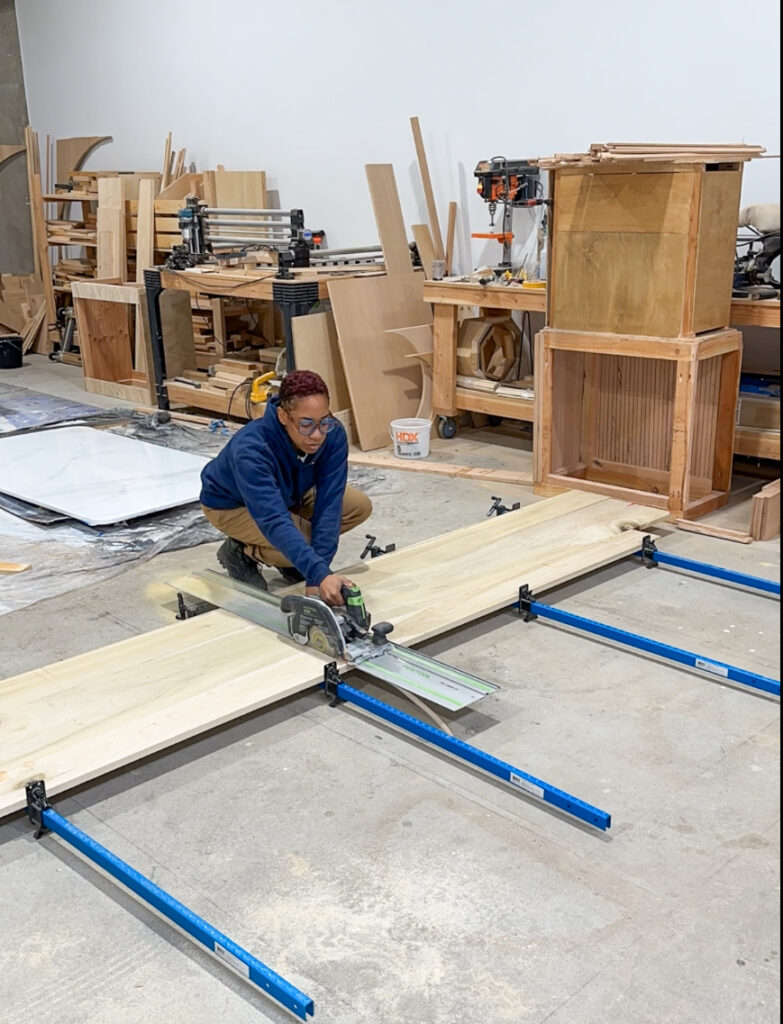
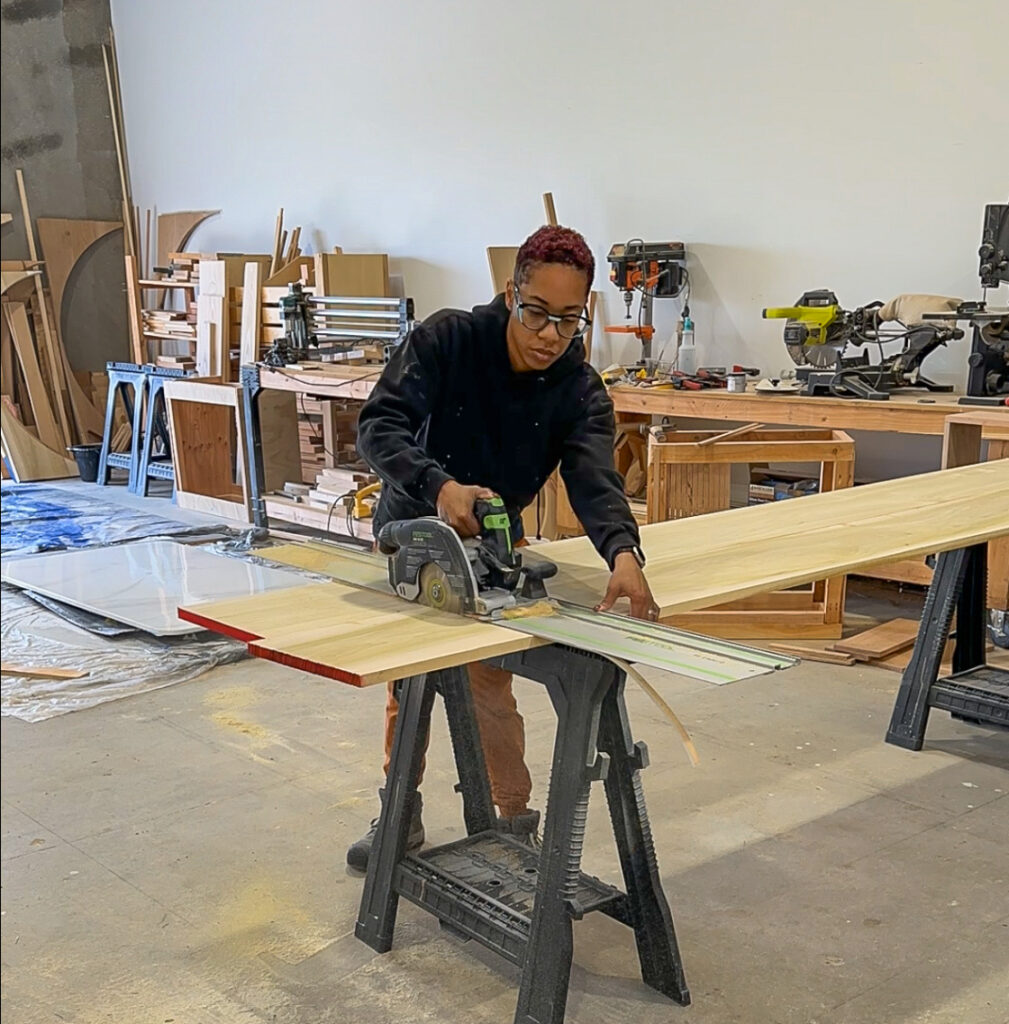
Circular Saw or Jigsaw: Begin by cutting the plywood into the desired dimensions for DIY-in your bookshelf sides, top, and bottom. A circular saw or jigsaw will make the process more manageable for beginners.
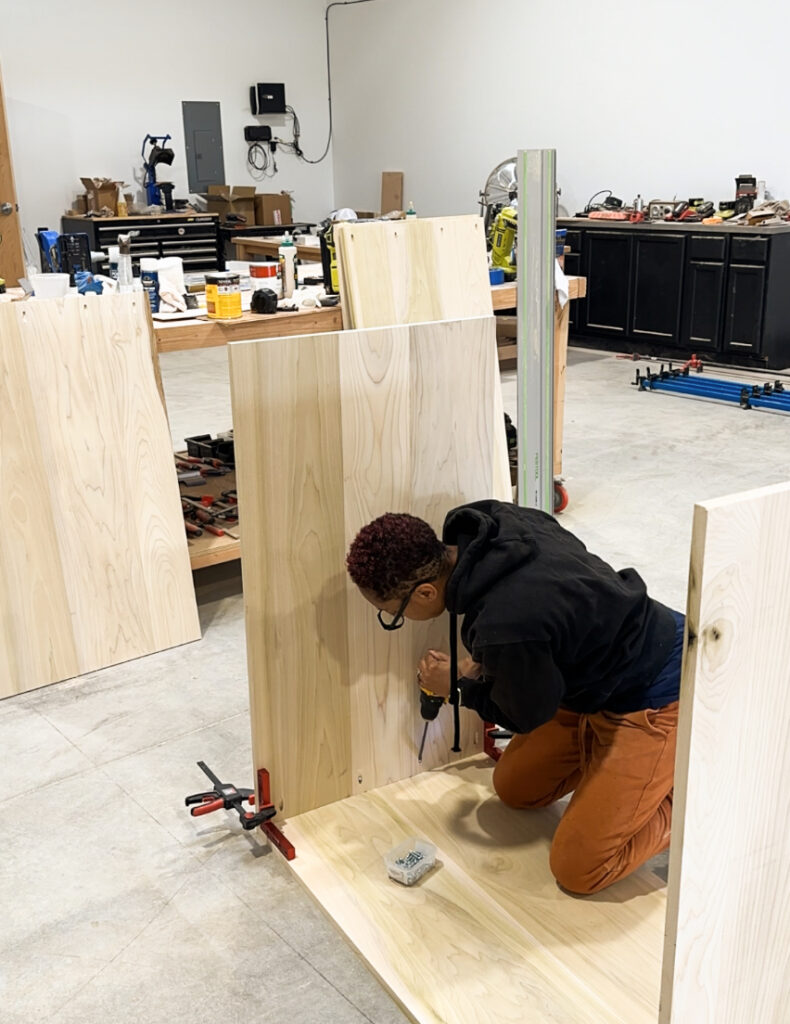
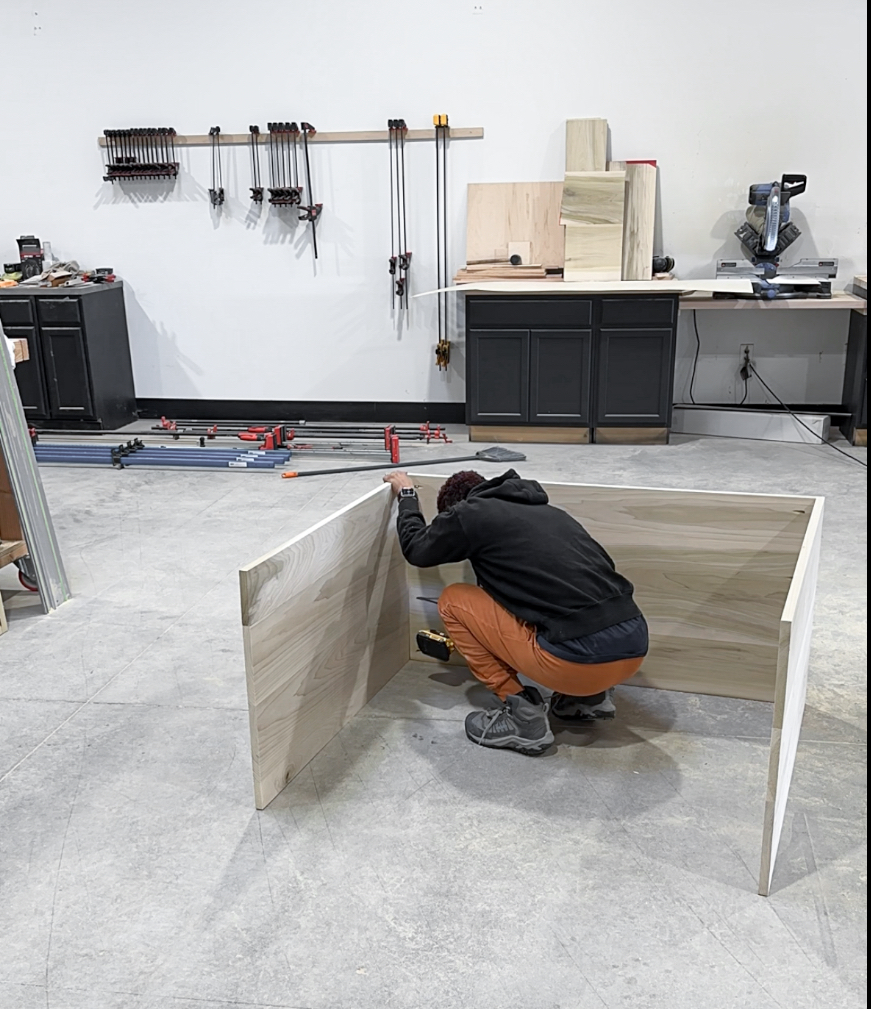
2. Drill/Driver: A drill/driver is essential for creating holes for screws and assembling the various parts of the bookshelf securely. Make sure to use the appropriate drill bits for your screws. I am using pocket holes here.
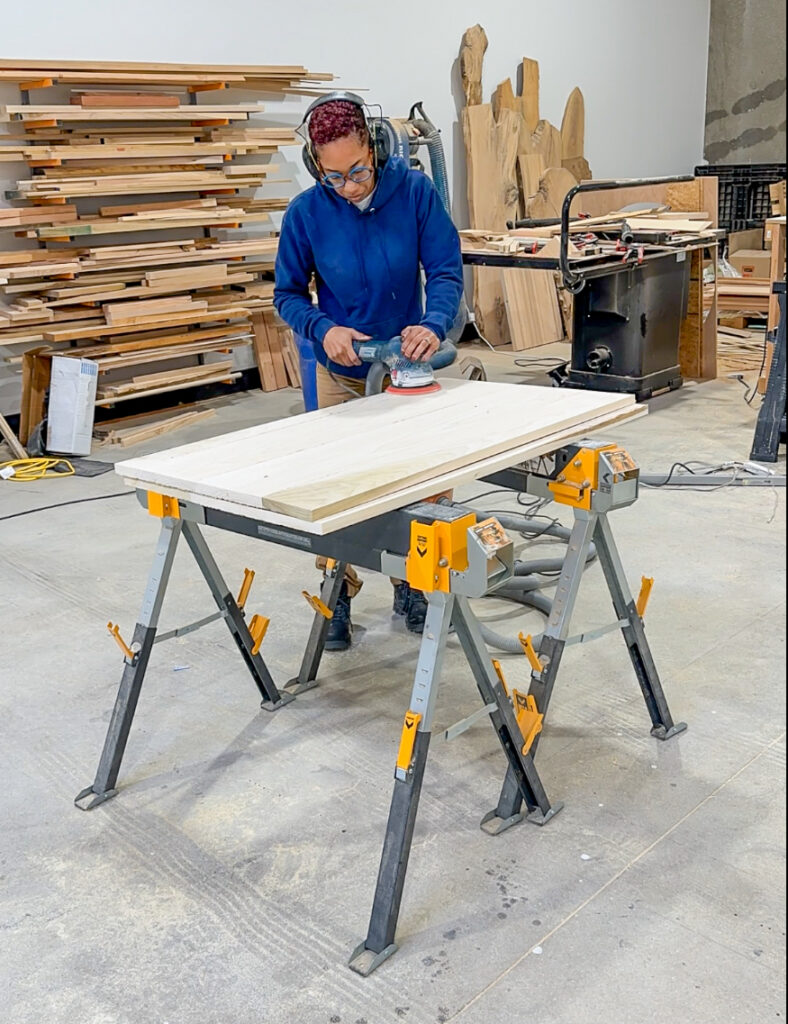
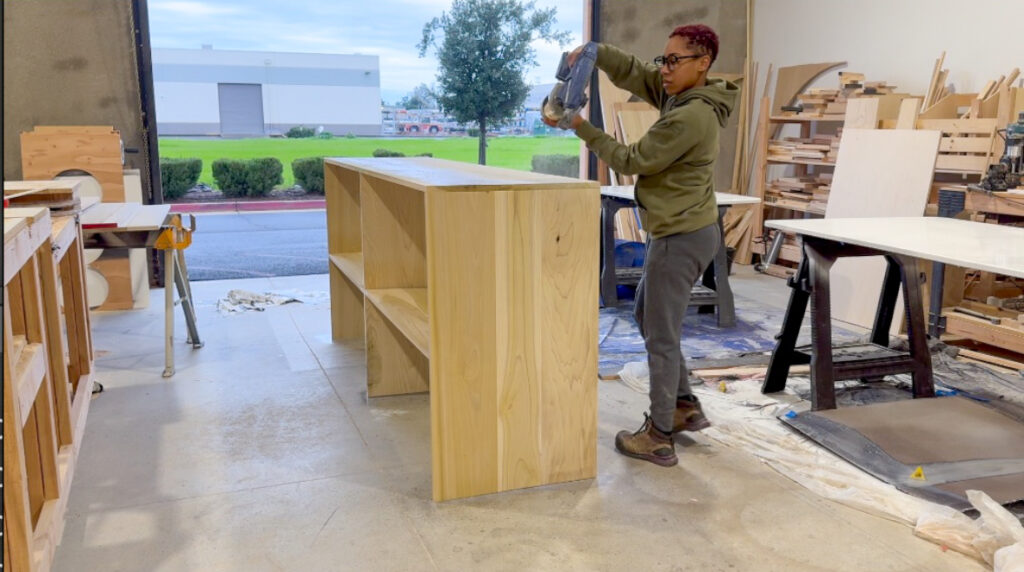
3. Orbital Sander: Smooth out rough edges and surfaces with an orbital sander. This tool will give your DIY bookshelf a polished look and a professional finish.
4. Wood Clamps: Wood clamps are crucial for holding pieces together while the glue dries. They help ensure a tight bond between the joints, enhancing the overall stability of the bookshelf.
Building Process:
Cutting the Plywood: Use your circular saw or jigsaw to cut the wood into the desired dimensions for the sides, top, and bottom of the bookshelf. Take precise measurements and mark the cuts carefully.
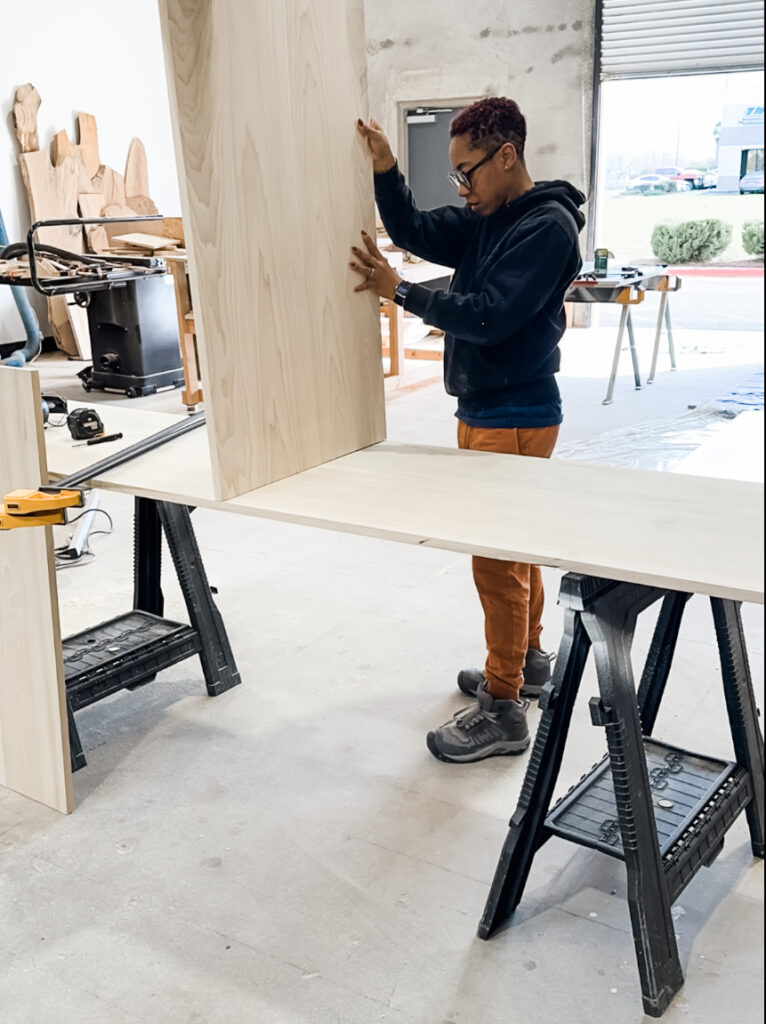
Assembling the Frame: Begin by assembling the frame using wood glue and screws. Use the drill/driver to secure the pieces together. Reinforce the joints with wood clamps while the glue dries for added strength.
Adding Shelves: Cut wooden boards to create the shelves of your bookshelf. Adjust the shelf heights according to your preferences and the size of the books you plan to store. Secure the shelves in place with screws.
Sanding and Finishing: Smooth out any rough edges or surfaces with an orbital sander like the one used above. Once satisfied with the smoothness, apply your chosen finish, whether it be paint, varnish, or wood stain, to protect the wood and enhance its appearance.
For those who may prefer not to tackle the woodworking themselves, consider reaching out to professionals like Workboots & Glasses. If the prospect of building your bookshelf seems daunting, I offer services to bring your vision to life.
Building your bookshelf is an empowering and creative endeavor, even for those new to woodworking. As you admire your finished project, the sense of accomplishment is unmatched.
Whether you decide to craft it yourself or enlist the help of professionals like Workboots & Glasses, the satisfaction of having a personalized piece of furniture is truly rewarding.
So, why not take the plunge into woodworking and create a bookshelf that reflects your style and craftsmanship?


